How to Make Your Infographic Clickable in 3 Easy Steps
Infographics may be quicker and easier to consume than say, an eBook or long blog post, but there is one downside to marketing with Infographics. What if the reader wants to learn more about a specific point presented within your Infographic?
Answer: Add clickable links to your Infographics. Problem solved!
Hubspot recommends using a free and easy tool called Thinglink in order to add links to your Infographics. In a blog post you can add links to more information, which allows your post to remain short and easy to consume while still providing extra information for readers who may want to dig deeper. Adding clickable links allows you to provide the same amount of detail for readers, while keeping your Infographic from being bogged down by massive amounts of copy.
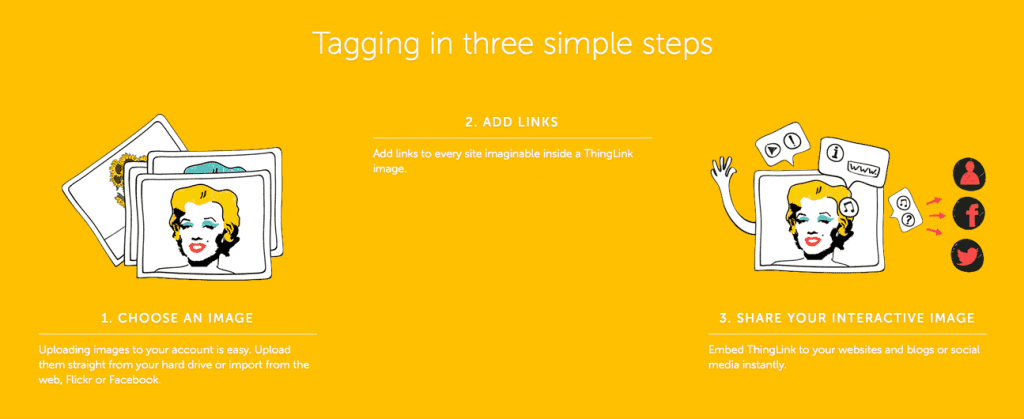
Here’s how to make your Infographic clickable in 3 easy steps:
1) Create a free account on Thinglink and choose an image you want to tag.
2) Upload your Infographic and add tags where appropriate.
3) Share your clickable Inforgraphic on your website and social media profiles.
That’s it. Easy peasy, right?
Full disclosure: there is one issue that could be considered a roadblock to some marketers. All Thinglink links will direct traffic back to Thinglink’s website, not your own website. So the bummer here is that their website is gaining any SEO from these clicks, not yours. However, all your original posts promoting your infographic will link back to your website, so it’s not a complete loss of SEO.
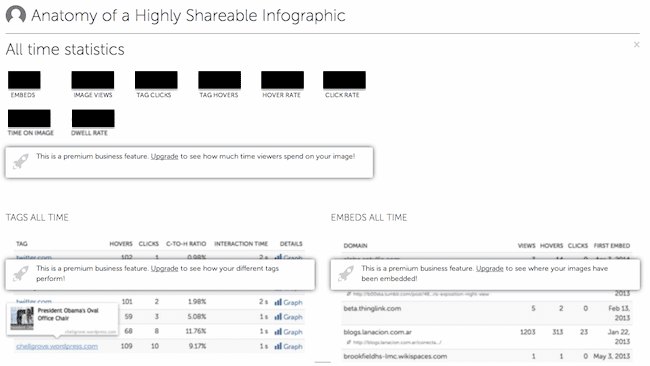
Hubspot says, “Thinglink is a great option for making clickable infographics when you don’t have the time, knowledge, or resources to code your own.” While it is a definite con to lose any potential SEO from the tag clicks, the metrics you gain could outweigh this. What do you consider more important: SEO or having the ability to track your marketing efforts?


